Showing posts with label pattern testing. Show all posts

Wednesday, January 24, 2018

   I really need to get back into the gear of blogging and making time to film and edit and sew for that matter! I absolutely hate the hours I'm working, but I gotta do it! *HUGE thumbs down* lol

Anyhow, the reason we are here!!!! I got to test this amazing pattern by the absolutely wonderfully talented Kelly of Jeli Quilts! I absolutely adore her work, and am so inspired by her every single time I see her pop up in my IG  feed.

This pattern is her latest, it's called Goosing Around Again. It is absolutely perfect!


And of course, I had to use a low volume texty background and Kona Solids for the Flying Geese and did it in Rainbow Fashion! I finished up with a black and white striped binding (per usual! lol)

i would say this pattern is for an intermediate quilter. Definitely not for a beginner paper piecer. Although, paper piecing is extremely simple once you get the hang of it, this is definitely not for someone's first time. I strongly suggest easing yourself into paper piecing (I might have a little help for you beginners planned ;))

Now, back to the pattern, it is very easy to follow as long as you know how to paper piece.

Each block is made up of 2 pieces. Each of those make one quadrant of the block.


This block finishes at 12.5" square. so I decided to add some extra color as a border to make it a bit larger.

The awesome thing about paper piecing is that it uses such a small amount of fabric, you can use your scraps for many other things! Of course, I starched the hell out of it before basting it because with all the angles there is nothing but bias on the edge of the block (before the border)

I don't think I could be happier with how this turned out!

These geese give me LIFE!

Of course, I spray basted my mini using 505 basting spray.

I did my normal stipple FMQ quilting for a fast finish.


Machine binding to the rescue (as always!) lol I call it lazy binding, but it gets the job done and I love it!

I used the Ikea Numbers print for my backing. (On a side note, while I'm sitting here writing this post I keep getting side tracked with this new show I just started on Netflix called "Crossing Lines" it's flipping awesome!!!!)

Isn't it just so pretty?!?!? I have to say thank you again to Kelly over at Jeli Quilts for letting me test out this pattern. I already have another one of her patterns that I'm going to start piecing soon, as soon as I get started on a super secret project with a very close deadline.
I highly recommend following her on IG for HUGE doses of inspiration! She's an extremely talented designer and quilter!


Thanks for stopping by and taking a peek at my newest mini! I can't wait to add it to my walls! (I'll do a post about that soon too!) Don't forget to follow me on Instagram right here to keep up with what I'm working on, and see my newest obsession with planning. Who knows, I may do a blog post about that soon too!!!!

Hope y'all have a great day! I'll talk to you soon!!!!


Wednesday, August 28, 2013

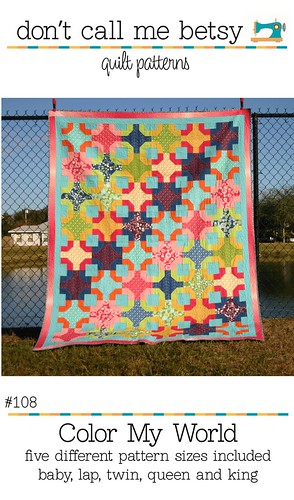
Color My World- Pattern Testing


A little while back I got to do some more pattern testing! (I just love to test patterns, it makes me feel special!!!!) This pattern is called Color My World by Elizabeth Dackon. If you don't know who she is you should really go check out her blog, Don't Call Me Betsy! She is an amazing designer! I actually got to meet her when I went to The Stash Bash, to say I was "star struck" is an understatement!!!! She is really down to earth and a real sweet heart!!! She has published MANY patterns such as the Lucky Stars BOM (which I am really behind on), Wheel Of Fortune (I have big plans for this pattern), and Sew Positive (I love this one too!!!) On top of that she has a book being released in September of this year...you can go pre-order it on Amazon through this link, it's called "Becoming a Confident Quilter" I'm sure it WILL NOT dissapoint!!! Anyways, she really is an amazing designer, blogger, and quilter, you should really really go check her out!!!
  Now, let's get on with the pattern I got to test! It's called Color My World and is now available for purchase here! (and if you hurry and get it before September 3rd you can get it on sale! ONLY $6!!!! I promise you will LOVE this pattern!!! Her directions are written very clearly, and super easy to follow! The pattern is block based and comes together REALLY fast!!!!
   When she first sent me the pattern I would just stare at the picture of her finished quilt.
As I was trying to figure out what fabrics to use I noticed the "circles" the pattern created. Then I became a little obsessed with them, so I knew my quilt had to make the circles POP, I think I did a pretty good job with making them do so!

If you guys know me at all you know that I love a scrappy rainbow! So, I took the time to draw out the pattern with graph paper and color it in the way I wanted it, so I could get the fabric placement JUST RIGHT! I had to make one block at a time to make sure that my fabrics were placed correctly, but even doing it that way did not take me long!!! I think this is one of my favorite quilts TO DATE!
There is a lot of different ways to make to this pattern your own! Elizabeth put a table in the pattern so you can see how she chose her colors and gave you space to add your chosen colors! And she took my advice and added a COLORING PAGE to the pattern!!! So, you can do what I did and play with the color placement and have a really good idea of what your finished quilt top will look like!!! (thank you Elizabeth!!!)

The quilt pattern offers 5 different size options! I made the lap size, but you could easily make the crib, twin, queen, or king!!! :-) I added a little bit of a thicker final border to my quilt so me and my Hubby can curl up under it and watch a movie together!
I am still trying to figure out what I should do for a backing, any suggestions would be GREATLY appreciated! I think I know how I'm going to quilt it, if I can make it work!
  This pattern was originally featured in Quiltmaker late last year, you can read Elizabeth's post about it here! She used Vanessa Christenson's first fabric line for her quilt. Which I think made a phenomenal quilt! The pattern is NINE pages FULL of tips that will help you plan and sew your top! I'm telling you, this is a MUST HAVE pattern! You can easily whip up a lap size quilt in 2 days! It's great for the beginner!!!


I just LOVE this quilt!!! I can't wait to finish it!!!! You can purchase this pattern through Elizabeth's Pattern Shop or through Craftsy and remember, it's ONLY $6 until Tuesday, September 3rd!!! (after the 3rd it will be $8) so if you go buy it NOW you can have a GORGEOUS quilt top DONE by the end of the long weekend!!!!!

I had a blast planning and sewing this quilt top! The pattern is amazing! I loved testing it out for Elizabeth!

Alright guys, I need your help, what would you do for the backing on my quilt? I need suggestions!!!!


~Hope y'all are having a GREAT day!!!~

Thursday, May 9, 2013

Pattern Testing & Review


I've been super busy here lately! And what extra time I've had I've chose to sew instead of blog....and I want to show you all something I've been sewing on!
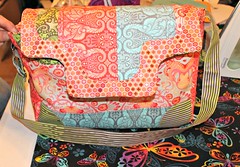
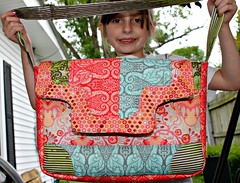
I know you guys have heard of Sara Lawson of Sew Sweetness right? Well, if you haven't you really really need to go check out her blog! She is an amazing designer, and a very very sweet person! I've had the opportunity to test out one of her newest patterns! She has a bunch! This one is called the Lilium Laptop Bag. The pattern includes 2 different sizes. I chose to make the smaller one. The pattern also has the option to not make it a laptop bag (by omiting a few things) and I knew I wouldn't use it as a laptop bag so I chose to omit those few steps, and my bag turned out AMAZING!!! I really love it!
I think my helper wants to steal it from me! LOL!
Here is the description Sara includes with the pattern:
This pattern will allow you to make a laptop bag in two popular sizes. The small bag is perfect for a 13” MacBook Pro or similar sized notebook computer and the larger bag is great for most wide-screen laptops. The bag is padded with 1/2” foam on the front, back, and bottom, for maximum protection of your electronic device. There is also an exterior and interior zippered pocket. The interior is also separated with a divider, so you have room for both your laptop and charger. What a great way to carry your laptop around in style!


This bag has a magnetic snap closure (which I love!) Okay, enough with the talking I'll just show you some pictures!

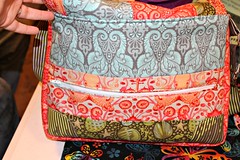
Front View


Back zippered pocket


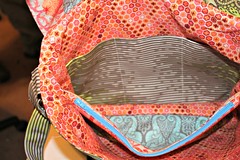
Inside, with divider and zippered pocket


Inside of the interior zippered pocket


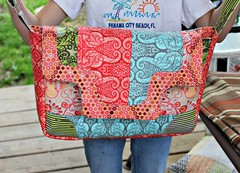
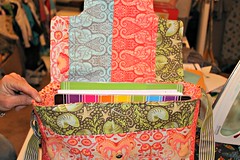
Front of the bag with flap raised


Front of the bag


My gorgeous girl modeling the bag! (I swear she keeps eyeballing it, and waiting for me to turn my back so she can snatch it!)


Back of bag with zippered pocket


Interior of bag with divided pockets


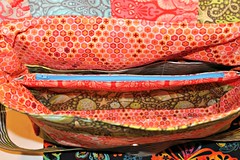
Another view of the interior


I put a notebook in the bag to help hold it up while taking photos, and realized it could make a PERFECT bag for school, and remember this is just the small version, and I could've probably still fit in a few more books! It has the perfect place for pens and pencils and whatever else you may need!

Another one of my model, I was taking pics of just the bag and looked up and realized she had been cheesing the whole time! LOL!
I do have to admit that I am a little late in getting this finished for Sara. The reason being is that I had to remake a few parts a couple times. I guess I need to pay closer attention to what I'm doing! I'll even woman up and show you all how I messed up!


This was my first time doing a zippered pocket like this and I measured wrong, so instead of putting the pocket like it was written (for the length of the bag) I put it vertical! UGH! I was soooo mad once I realized what I had done! And I had to rip out some other things, but that was completely because I was just trying to get it done and was not paying attention!
I also made my first adjustable strap! It was sooooooo much easier than I thought!
All in all this pattern is very well written and easy to follow (if you actually read what you're doing, unlike myself!) and I would reccomend you all go and purchase it!
So, if you've not yet read Sara's blog or checked out all of her amazing patterns I highly recommend it! I own 3 or 4 of her patterns, the next one on my list to make is her Aeroplane Bag! And Sara just released her first wallet pattern that includes 3 different wallets!!!!! I can't wait to see what she comes up with next! She is such an amazing designer! So go go go check out her blog and then hop over to her pattern shop and get started on one of her bags! I promise she has something for EVERYONE!!!!!!

This bag is made using Tula Pink's faric line Saltwater! I love it!!! :)

~Hope y'all are having a GREAT day!!!!~

Wednesday, April 3, 2013

Pattern Testing


Do you remember when I showed you the pic above? I told you I'd tell y'all more about it later? Well, later is here!!!
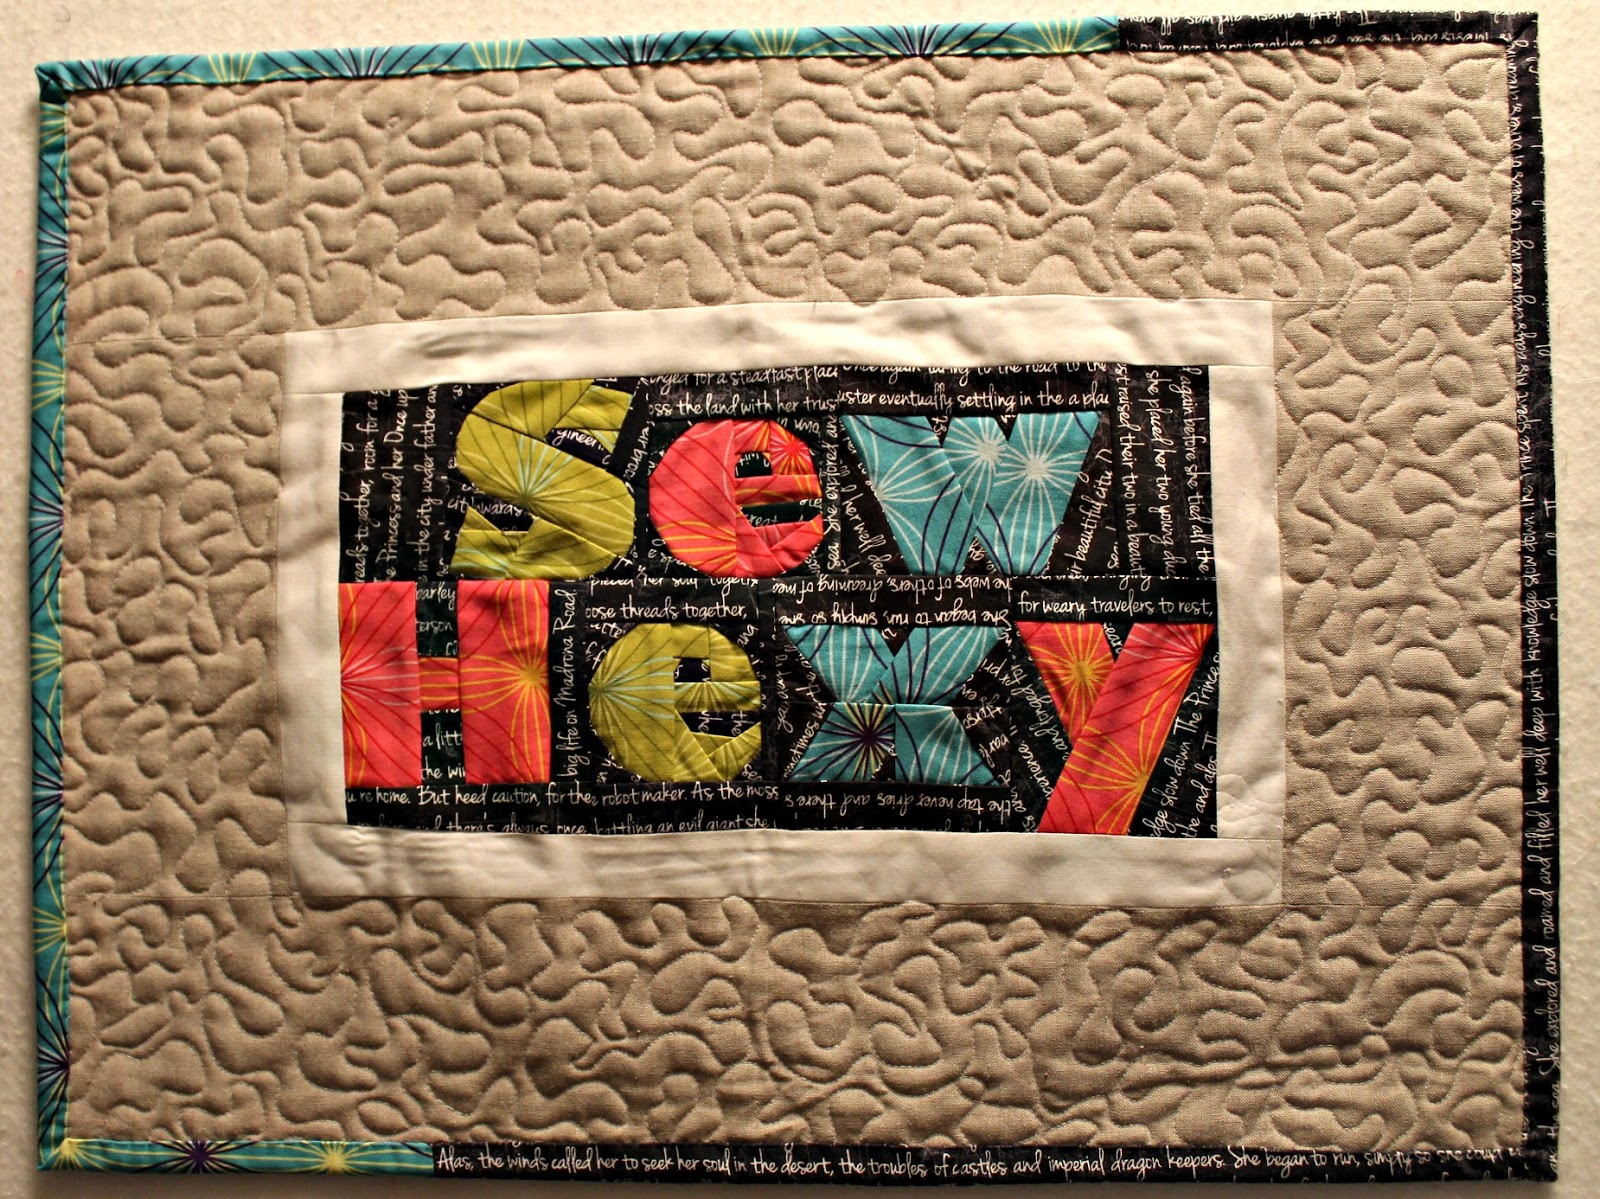
As you all know I'm an IG (instagram) addict! When I saw Diane (aka From Blank Pages) was making a new pattern for the alphabet I JUST HAD to try it out! Luckily she let me take her wonderful pattern on a little test drive! The only thing she requested was that I made something that used either g, p, q, or y in lowercase. So, I thought about it for all of like 2.2 seconds and came up with what you see above. Sew Hexy. Perfect, right? I thought so!!!

This pattern is just awesome! It is a paper piecing pattern, which I have recently become OBSESSED with paper piecing. I'm actually thinking of doing a little tutorial on how I paper piece. But that's for another day!

The thing I really love about this pattern is that it is VERY versatile! You can use these letters for just about any project you can think of! They are sized small enough you could even use them for pouches or bags! I'm thinking about using this pattern on the backing of my niece's quilt to put her name on it as well as a little message from me.
I love how this pattern doesn't create a TON of waste fabric like some of the other paper piecing patterns do. I was able to take the excess fabric I cut off from one part of a letter and use it for another part on the same letter! There is a lot of small piecing involved, which doesn't bother me AT ALL!
Her directions are very easy to follow. This pattern is very well written and easy to understand!
I'm so happy she let me test this for her!!! Thank you again Diane!!!!


When I was quilting it I didn't want to take away from the letters so I chose not to do any quilting over them at all. I love the way it turned out! The fabrics I used for the letters are from the line Les Amis, I used my favorite text print from Madrona Road, the background is Yarn Dyed Essex Linen in Flax, and I think that is some Kona White around the letters.

So you guys know you want to go out and get this pattern right? You can get it 2 different places!!
Here on Craftsy or here on Etsy and don't forget to go say Hello to Diane on her blog. When you do, don't forget to tell her I sent you!!!! I am a huge fan of her blog and her work. She's got more alphabet patterns other than this one too. (This one is called My ABC's and My abc's) You can check out her other patterns here at her Pattern Store on Craftsy. I promise you will NOT regret checking them out...she really is VERY talented!!!!

~Hope y'all are having a great day!!!~

Friday, February 8, 2013

Dot Dot Dash- I DID IT!

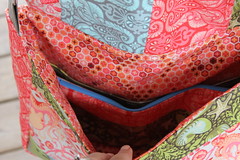
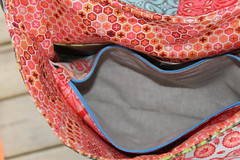
I was lucky enough to be one of the pattern testers for Sara's new pattern Dot Dot Dash! I absolutely L-O-V-E the finished product! Isn't it pretty????? I'm not going to lie to you though, I fought with this bag, and I do mean FOUGHT with it! I gave up about 20 times and if it wasn't for Sara's encouragment (along with my VERY supportive hubby's) I wouldn't have finished it!!!
It wasn't because of the pattern, it was great! Very well written, and easy to follow (as are all of her patterns!) It was that inset zipper!!!!!! GRRRRRR!!!!

*calming breath*

I had never sewn one before and didn't think it would be as difficult (for me) as it was. But, I did it! And I couldn't be happier with the result of my labor!
I decided to use some prints from Valori Wells line Cacoon, which I absolutely adore, and a low volume gray to change it up a bit. I used Kona Steel for the lining. 

I was worried about being able to do this bag because of the curved accent pieces, but if I do say so, that part was literally a piece of cake!!!! Sara's instructions were soooooo easy to follow I didn't have ONE BIT of a problem with it!!!! Did I mention I LOVE THIS BAG?????

I love how it's got enough space to use for just about anything, seriously, it could be used for an everyday purse, a project bag (because the pockets themselves are very spacious, you could even fit a FEW projects in there!!!! And with the little accent pieces, they are perfect place for putting some hand sewing needles!), I could even see using this as a (very well organized) diaper bag!!!

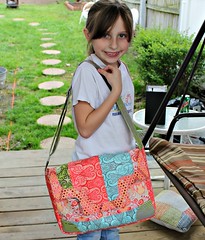
Here is my baby girl modeling it for me! It almost swallows her! LOL!

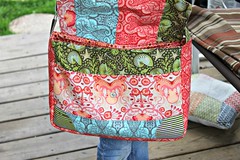
I did the back almost the same as the front, I just LOVE it!!!!

All in all, I think this is a FANTASTIC bag/pattern. If you are a beginner I think it would be challenging but it CAN BE DONE! An intermediate to advanced seamstriss could whip this up without a hitch! I am not sure which category I fall into anymore, maybe advanced beginner?

Oh, one more thing, I did not use the adjustable strap that she gives the directions for, simply because I could not find the proper hardware locally. I didn't really have the time to order online. But I do plan on making this bag again and I will be making it with the adjustable strap. Of course I'll let you guys see it when I get around to it!


So head on over to Sara's pattern shop and pick up the pattern!!! While you are there she has also released the pattern for another FANTASTIC BAG! And I'm positive there is a BUNCH more to come!!!!


Thank you Sara for letting me test this pattern! I truly do love it!!!!